
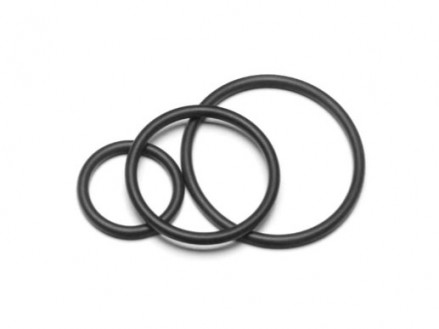
Dive lights require maintenance just like the rest of your diving gear. One way to increase their lifespan is to regularly inspect the O-rings and replace them as necessary.
When to Replace Dive Light O-rings
O-rings should be inspected each time you’re taking apart your dive light to clean and rinse it with fresh water. If there’s no noticeable damage, all you have to do is remove, clean, and grease the O-ring lightly before reinserting it in the light to keep everything in good condition. But if you regularly dive in salt water or murky water, those particles will eventually wear down the O-ring and create small nicks even with regular cleaning, reducing the ring’s ability to seal and protect your dive light’s interior components from flooding. It is always necessary to replace the O-rings once every year or immediately following a pinch, nick, cut, or any other damage to the rubber.
How to Replace Dive Light O-rings
Some dive lights have more than one O-ring, so make sure to check the user guide that came with your light. You’ll also need to make sure that you purchase the right size O-ring to replace the old, worn out one. To replace the O-ring, disassemble the light and gently remove it with your fingers. When removing the O-ring, do not use any tools that may leave scratches on the surface where the O-ring is installed, especially tweezers. Toss the old O-ring and rinse the area with fresh water, drying it with a lint-free cloth to make sure there aren’t any particles left behind that could hinder the new ring from sealing. Apply a small amount of lubricant to the new O-ring before gently placing it in the dive light, ensuring the grooves line up properly and the O-ring fits securely.
