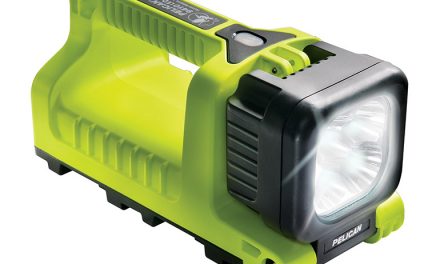
As soon as you surface from your dive, open the light and discard the battery. This will help to avoid any further damage that could be caused by the flooding. Instead of panicking, act fast because if the current from the battery is still flowing, and there is water in the battery compartment, the light will be irreparable.
Rinsing the light
After you have discarded the battery, use clean water to rinse every part of the light. Be sure not to use sea water because it is not as clean as you might think, and the salt is highly corrosive. You should also ensure that you follow the manufacturer’s directions when doing this. To fix a flooded dive light, allow all of the parts to dry completely. This calls for a lot of patience because sometimes you may think that your light and its components are dry, when in reality there is still some water inside. Check every part to ensure that there are no traces of water left before you do anything else. You can speed things along by gently drying everything with a microfiber towel, but make sure that’s the method suggested by the dive light’s manufacturer.
Inspecting for damage
These lights are designed to be waterproof. Therefore, any leakage that leads to flooding means that there is some damage to the body. Check it thoroughly to identify where this damage is. Sometimes, it may be a tiny hole and you may not even notice it unless you are extra thorough.
Looking at the O-ring area, ensure that there is no debris. Some particles, including sand and hair, can stick to this area and cause leakage next time you dive. If there are any particles, remove them gently so that you do not cause any damage to the rings. After that, lubricate the O-rings, reassemble your dive light and switch it on to check if it is still functional.


